WordPress Multisite Installation and Management
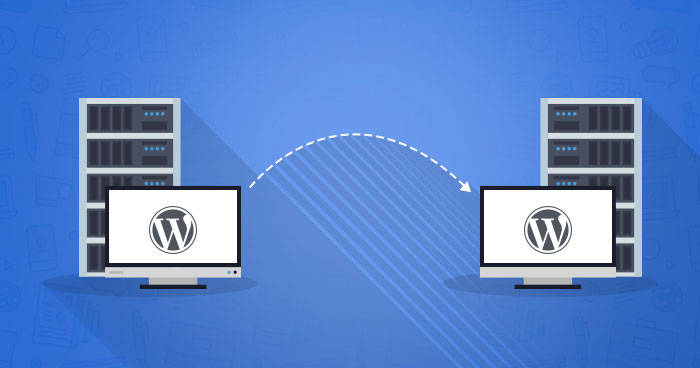
WordPress Multisite is a powerful feature that allows you to create and manage multiple WordPress sites from a single installation. This capability is especially useful for organizations, educational institutions, or businesses that need to maintain several websites under one roof. In this guide, we will walk you through the steps of WordPress Multisite installation and management, ensuring that you can set up and oversee your network with ease.
Installation
- Backup Your Website: Before making any significant changes to your site, it is crucial to create a full backup of your WordPress site. This includes both your files and database, ensuring that you have a safety net in case anything goes wrong during the Multisite setup process.
- Enable Multisite: To activate the Multisite feature, you need to access your WordPress site’s files through FTP or your web host’s file manager. Locate the
wp-config.phpfile in the root directory of your WordPress installation and open it. Add the following line of code just above the line that reads, “/* That’s all, stop editing! Happy blogging. */”:
define( 'WP_ALLOW_MULTISITE', true );- Install the Network: After enabling Multisite, log in to your WordPress dashboard. Navigate to “Tools” > “Network Setup.” This will take you to the Network Setup screen, where you can configure your Multisite network. You’ll need to choose between using subdomains (e.g., site1.example.com) or subdirectories (e.g., example.com/site1) for your network structure. Select the option that best suits your needs, and fill in the required fields.
- Update Configuration: Once you complete the network setup, WordPress will provide instructions to update your
wp-config.phpand.htaccessfiles. These updates are necessary for your Multisite network to function correctly. Follow the instructions carefully, and make the recommended changes to these files. - Log in Again: After updating the configuration files, log in to your WordPress dashboard again. You will now see a new menu item called “My Sites,” which allows you to switch between your different network sites. This feature makes it easy to manage all the sites within your network from a single dashboard.

Management
- Adding New Sites: To add a new site to your network, navigate to “My Sites” > “Network Admin” > “Sites” > “Add New.” Here, you can enter the site’s address, title, and admin email. Once you click “Add Site,” the new site will be added to your network, and you can manage it just like any other WordPress site.
- Managing Sites: You can manage all the sites within your network from the “Sites” section under “Network Admin.” This interface allows you to edit site settings, deactivate or delete sites, and manage site-specific themes and plugins. It also provides you with the ability to configure site-level settings, ensuring that each site functions according to its unique requirements.
- Managing Users: As a network administrator, you have the authority to manage users across all sites within your network. To add, edit, or remove users, go to “My Sites” > “Network Admin” > “Users.” Here, you can assign roles and permissions, ensuring that each user has appropriate access to the sites they manage.
- Themes and Plugins: One of the significant advantages of WordPress Multisite is the centralized management of themes and plugins. Network administrators can activate themes and plugins across all sites or allow individual site administrators to choose from a selection of network-enabled themes and plugins. This flexibility ensures consistency where needed while allowing customization at the site level.
- Updates: Keeping your WordPress installation, themes, and plugins updated is crucial for security and performance. As a network administrator, you can update all themes and plugins for every site within your network from the “Updates” section in the network admin dashboard. This centralized update management saves time and ensures that all sites are running the latest versions.
- Security: Ensuring the security of your Multisite network is paramount. Follow WordPress security best practices, such as using strong passwords, implementing two-factor authentication, and regularly updating the WordPress core, themes, and plugins. Additionally, consider using security plugins like Wordfence or Sucuri to add an extra layer of protection to your network.
- Performance Optimization: To maintain optimal performance across all sites in your Multisite network, implement performance optimization techniques such as using caching plugins, optimizing images, and selecting a high-quality hosting provider. These steps help ensure fast load times and a smooth user experience for visitors to your sites.
WordPress Multisite offers a powerful and efficient way to manage multiple WordPress sites from a single installation. By following the steps outlined above and implementing effective management practices, you can ensure that your network runs smoothly and securely, providing a robust foundation for your web presence.


