

Plesk Panel is a robust web hosting control panel that simplifies the management of web hosting environments, providing users with various tools to efficiently manage their websites and domains. Subdomains are a crucial aspect of website organization, allowing users to create distinct sections or functionalities within their primary domain. In Plesk Panel, managing subdomains is straightforward and can be done with just a few clicks. This article will guide you through the process of managing subdomains in Plesk Panel.
Accessing Subdomain Management:
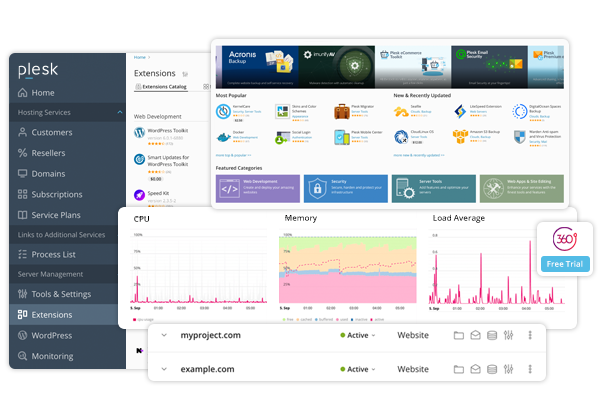
- Log in to your Plesk Panel account using your credentials.
- Once logged in, navigate to the “Websites & Domains” tab.
Creating a Subdomain:
- Under the “Websites & Domains” tab, locate the domain for which you want to create a subdomain.
- Click on the “Add Subdomain” option.
Configuring Subdomain Settings:
- Enter the desired subdomain name in the provided field. For example, if your primary domain is “example.com,” you can create a subdomain like “blog.example.com.”
- Choose the document root directory where the files for the subdomain will be stored. By default, Plesk Panel suggests a directory based on the subdomain name.
- You can also choose additional options such as enabling HTTPS (SSL/TLS) support for the subdomain, selecting the PHP version, enabling web scripting, etc.
- Click “OK” to create the subdomain.
Editing Subdomain Settings:
- To modify the settings of an existing subdomain, navigate to the “Websites & Domains” tab and locate the domain containing the subdomain you want to edit.
- Click on the subdomain name to access its settings.
- Here, you can make changes to the subdomain name, document root directory, HTTPS settings, PHP version, etc.
- After making the necessary modifications, click “OK” to save the changes.
Removing a Subdomain:
- If you no longer need a subdomain, you can easily remove it from Plesk Panel.
- Navigate to the “Websites & Domains” tab and locate the domain containing the subdomain you want to remove.
- Click on the “Subdomains” option.
- Find the subdomain you wish to delete and click on the trash bin icon or the “Remove” option.
- Confirm the deletion when prompted.
Conclusion: Managing subdomains in Plesk Panel is a simple and intuitive process. Whether you need to create, edit, or remove subdomains, Plesk Panel provides users with the necessary tools to efficiently manage their website’s organizational structure. By following the steps outlined in this article, you can effectively manage subdomains and enhance the functionality of your website.
Share this article